Choosing an Eyepiece: Magnification, Exit Pupil, and Useful Field
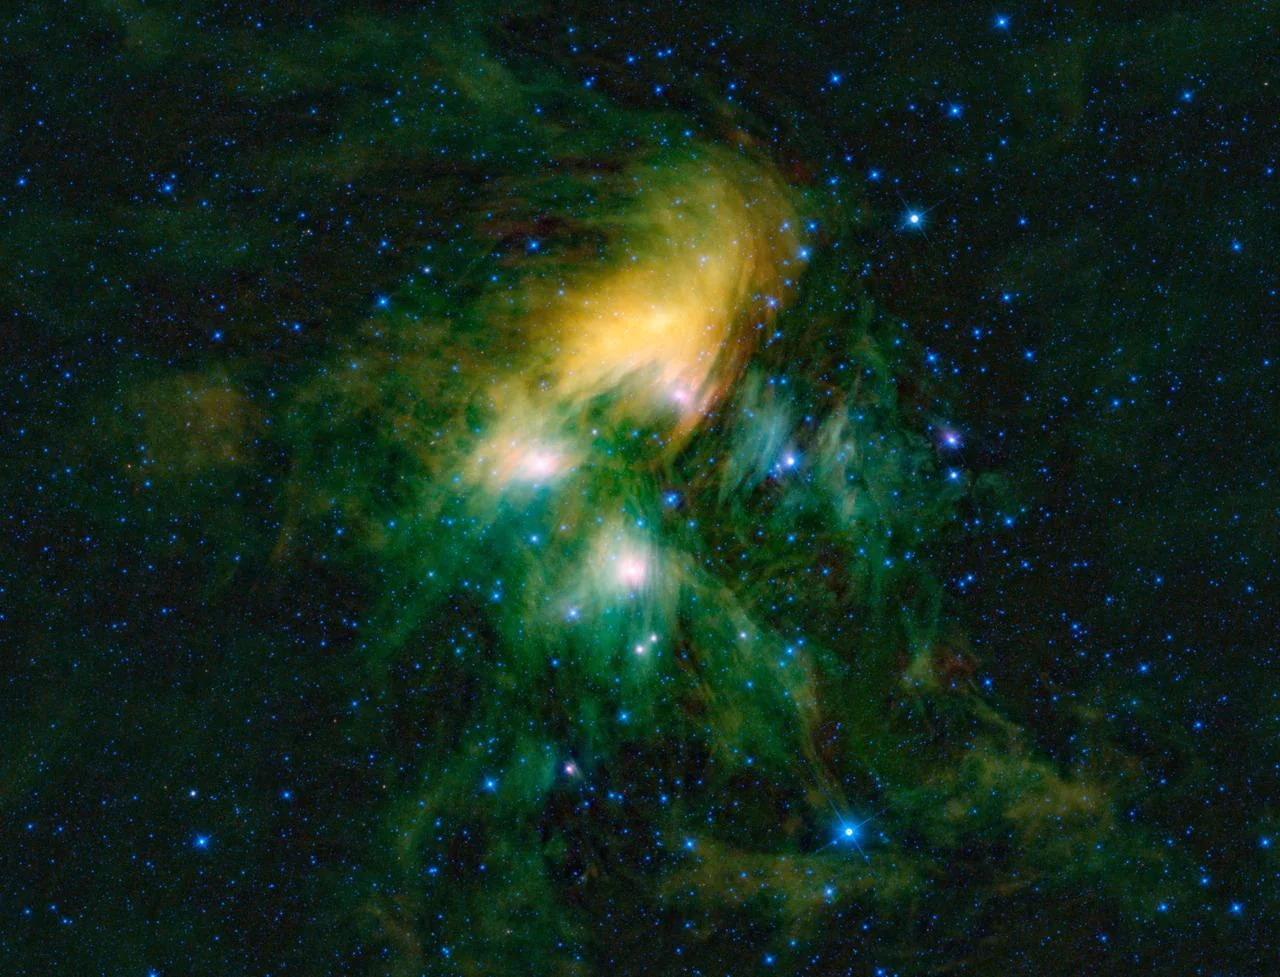
A useful eyepiece choice begins with a question about the target. Do you want the whole Pleiades cluster in one view, a larger image of Jupiter, or comfortable viewing while wearing glasses? The same telescope needs different compromises for those jobs. Calculating magnification is a good first step, but it cannot tell you whether tonight's atmosphere will support that power or whether an eyepiece will feel comfortable at your eye.
Start with the telescope you own
Find two specifications on the telescope or its manual: aperture and focal length, both in millimetres. Aperture is the diameter of the main light collector. Focal length sets the image scale before the eyepiece magnifies it. Do not confuse either with the physical length of the tube; folded optical designs can have long focal lengths inside short tubes.
For a worked planning example, use a telescope with a 1200 mm focal length and a 150 mm aperture. These are illustrative specifications, not a product recommendation. Enter them in the Telescope Magnification & Eyepiece Calculator. Keep the units consistent: entering an aperture in inches while the field expects millimetres produces a plausible looking but incorrect exit pupil and resolution estimate.
Compare three powers before buying anything
Magnification equals telescope focal length divided by eyepiece focal length. In this example a 25 mm eyepiece gives 48 times magnification, a 10 mm gives 120 times, and a 6 mm gives 200 times. Shorter eyepieces produce more power in the same telescope. A Barlow lens changes the effective focal length, so include its stated factor when calculating the combination.
Those results describe image enlargement. They do not guarantee three equally useful views. Start a session at lower power to locate and centre a target. Increase power in steps and compare the actual detail. If the image becomes larger and less definite, return to the previous eyepiece. A theoretical upper limit cannot override poor seeing, a telescope that has not cooled, or an optical alignment problem.
Use exit pupil to anticipate brightness
Exit pupil is aperture divided by magnification. Our three combinations yield approximately 3.13 mm, 1.25 mm, and 0.75 mm. This is the diameter of the beam leaving the eyepiece. For extended objects, such as nebulae, a smaller exit pupil generally means lower apparent surface brightness, although increased scale can help reveal some structures.
An exit pupil larger than your eye's pupil wastes part of the collected light. Your own pupil depends on illumination and individual physiology; do not assume a universal diameter for every observer. Conversely, a very small exit pupil can make eye floaters and positioning difficulties more distracting. Treat these numbers as comparison tools, then check your experience at the telescope rather than adopting one supposedly perfect value.
Separate apparent field from the sky covered
An eyepiece's apparent field describes the angular impression of its viewing window. True field is the width of sky that fits inside it. A convenient approximation divides apparent field by magnification. With a stated 60 degree apparent field, the example combinations cover about 1.25 degrees, 0.50 degrees, and 0.30 degrees respectively.
This approximation is suitable for an initial shortlist. A field stop calculation is preferable when the manufacturer's field stop diameter is available, especially with wide apparent fields. Distortion and the telescope's available illuminated field also matter. A larger barrel alone does not guarantee a wider useful view, and a field estimate says nothing about sharpness at its edge.
Match the compromise to the observation
For an open cluster, prioritise enough true field to show its surroundings. For the Moon, compare a comfortable full disk view with a closer examination of a small region near the terminator. For a planet, judge contrast and stability after increasing power. These are different tasks; the highest numerical magnification should not become the default choice for every object.
Eye relief deserves its own check. It describes where your eye needs to sit to see the intended field, and is especially relevant if you keep glasses on. The calculator cannot infer it from focal length alone. Look for a stated specification, consider the eyecup design, and try an observing club's equipment when possible. Comfort affects how long you can inspect subtle detail.
Keep a small comparison log
Check the mount as well as the optics. At high power a small movement becomes conspicuous, and a narrow true field makes an untracked target leave the view sooner. Practise focusing and following the target at a moderate setting first. If touching the focuser makes the image shake for several seconds, improving support may help more than another short focal length eyepiece.
Write down the target, eyepiece focal length, magnification, exit pupil, and estimated true field. Add a short observation such as “fine detail steadier at 120 times than 200 times.” Record seeing and whether the telescope had time to reach outdoor temperature. This separates a disappointing night from an unsuitable equipment combination and makes a later purchase decision more informed.
The practical output is a modest set of distinct observing options. Check what your existing eyepieces already cover before filling a numerical gap. Use the calculator to avoid unit mistakes and predict tradeoffs, then let repeated observations determine which combinations earn a place beside the telescope.
Related reading
 Physics
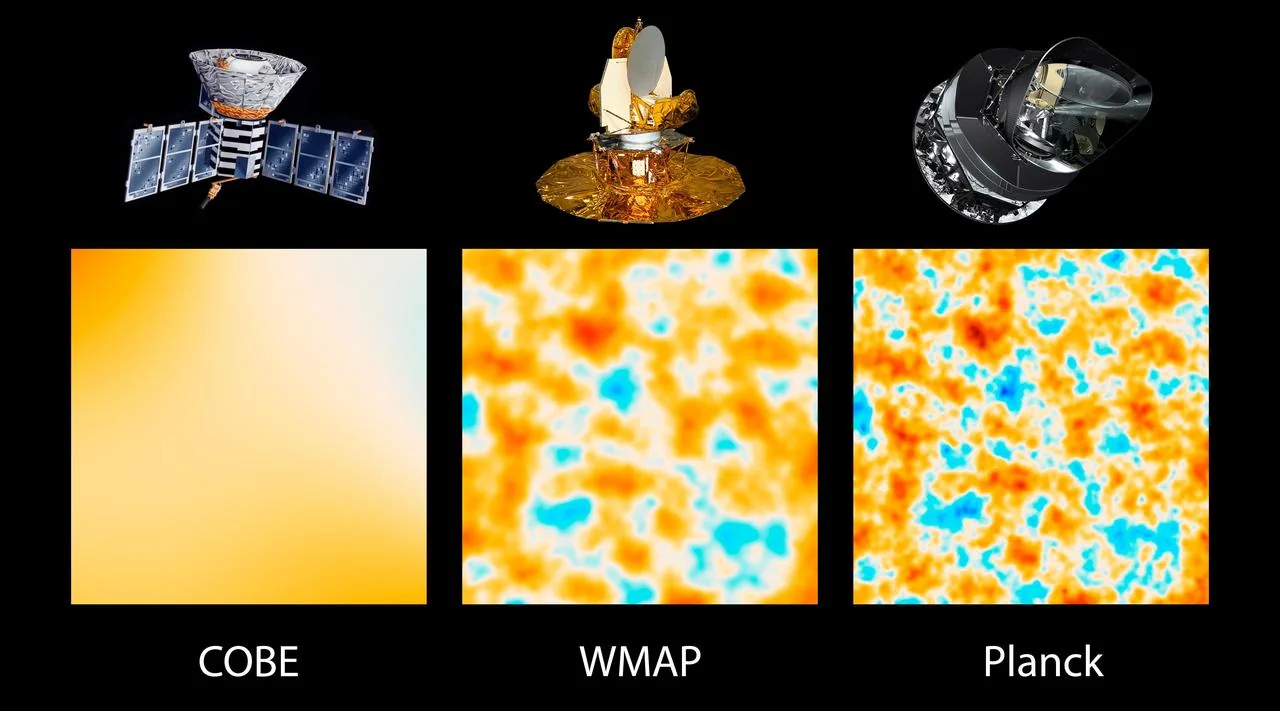
The Big Bang Theory: The Origins of Everything
How did the universe begin? Explore the evidence for the Big Bang theory, from Hubble's expanding universe to the Cosmic Microwave Background radiation.
 Physics
Dark Matter and Dark Energy: The Invisible Universe
Dark matter and dark energy make up 95% of the universe. Learn how astronomers discovered them and why they hold the key to the ultimate fate of the cosmos.